How to Replace Your Car’s Sunroof Glass in 5 Easy Steps
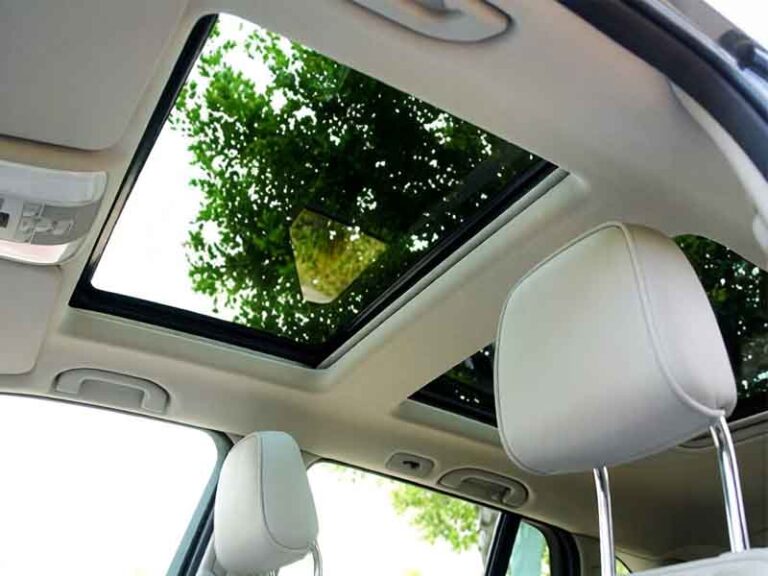
An automobile sunroof can not only significantly improve the lighting effect in the car, but also improve the air circulation and ventilation. It is also a “face value plus item” in the eyes of many car owners and an important configuration to enhance the overall grade sense and aesthetic feeling of the vehicle.
However, the sunroof glass is exposed for a long time, and it will inevitably encounter damage problems such as accidental gravel impact, natural aging, and cracking.
When these problems appear, if you go directly to the 4S shop for maintenance, you often need to pay a high fee. In contrast, it is a more cost-effective choice to replace the sunroof glass independently.
- Step 1: Make preparations. Tools and accessories are indispensable.
- Step 2: Remove the old glass and master the skills to avoid damaging the interior.
- Step 3: Check the sunroof frame and check the potential problems in advance.
- Step 4: Install new glass and accurately locate it to ensure sealing.
- Step 5: Test and acceptance to ensure the normal function of the sunroof.
Step 1: Make preparations. Tools and accessories are indispensable.
Before you start, park your car on a flat, hard surface, pull the handbrake, and it is best to put a stop block on the front and rear pads of the wheels to prevent the vehicle from slipping.
Disconnect the negative electrode of the automobile battery first to prevent a short circuit caused by touching the sunroof motor circuit during operation.
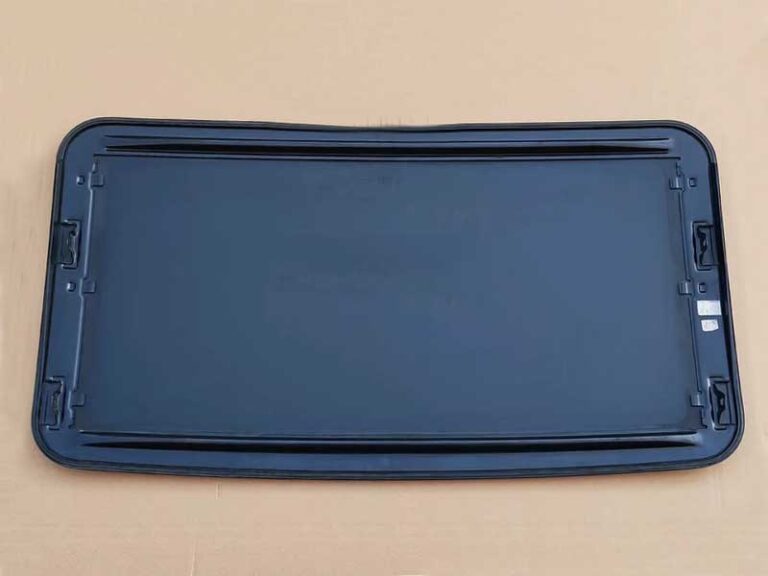
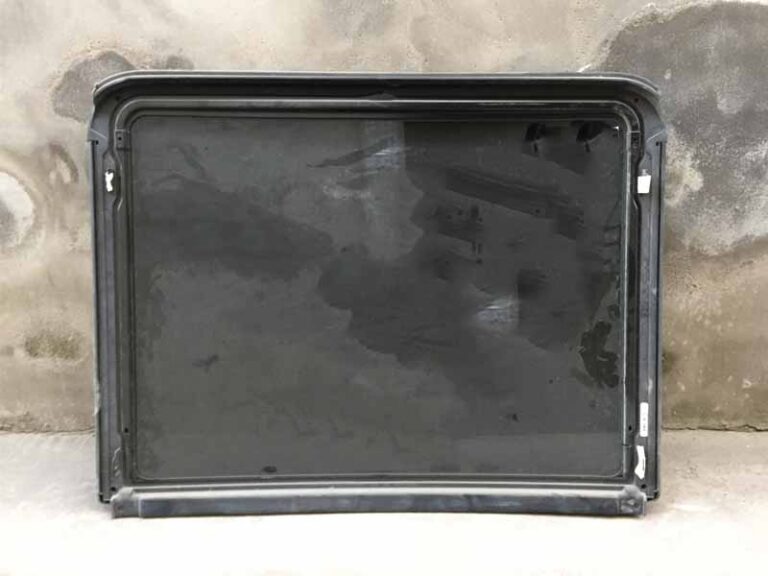
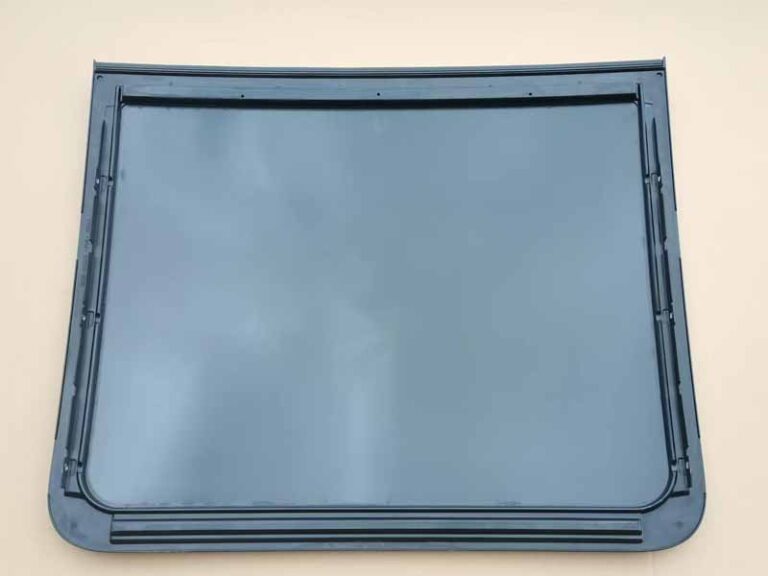
List of tools to be prepared: new sunroof (check the frame number in advance to avoid buying the wrong one), Phillips screwdriver, ring wrench, plastic crowbar, silicone sealant, dust-free cloth, goggles, and non-slip gloves.
It is suggested to prepare an old towel in the glove box in advance to prevent screws and small parts from falling into the gap of the car door and not being found during operation.
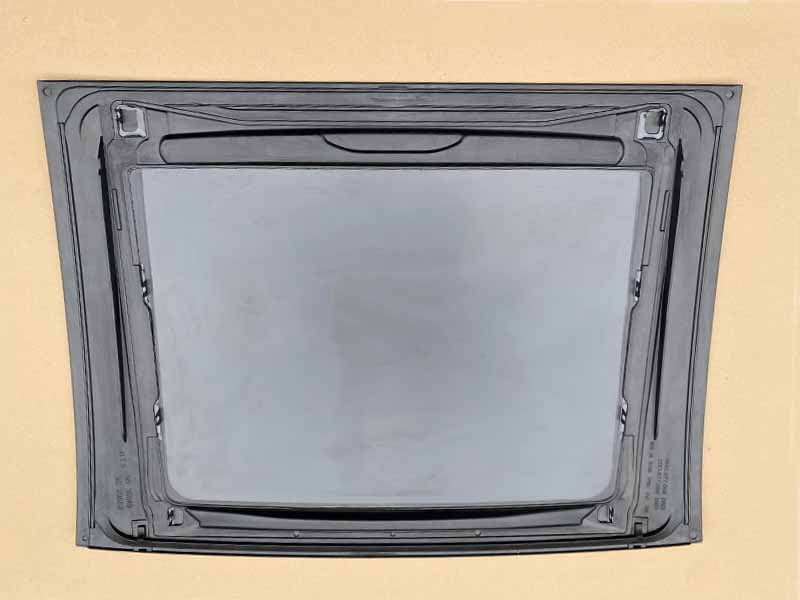
In addition, it is necessary to plan the operating environment in advance: it is best to do it indoors or outdoors with good shielding to avoid dust falling into the sunroof track.
Clean up the sundries around the sunroof in advance, and stick the car paint around the sunroof with adhesive tape to prevent scratching damage during operation.
Preparation seems tedious, but it is the key to avoid subsequent rework. The reason why many novices fail is that they often ignore these details.
Step 2: Remove the old glass and master the skills to avoid damaging the interior.
Demolition of old glass is the core link of the whole process, so you need to be extra careful. First, open the sunroof to a half-open state, find the fixing screws on both sides of the sunroof frame, loosen them with an Allen wrench, and take them off.
Subsequently, the two men fixed the old glass with suction cups and slowly lifted it upward, while paying attention to the connection between the glass and the sunroof track to avoid pulling the drainage pipes or wires of the sunroof.
If the old glass is cracked, it is suggested to stick the cracks with transparent tape first to prevent the glass fragments from falling during the demolition process.
After removal, the dust and old sealant residue in the sunroof frame should be carefully cleaned, and at the same time, the sunroof track should be checked for deformation, rust, and other problems.
If necessary, it should be handled in time, the installation accuracy of new glass will be affected. Remember not to pull by brute force when dismantling, and carefully investigate the cause when encountering a jam. Forced operation is likely to damage the sunroof motor or the interior trim panel.
Step 3: Check the sunroof frame and check the potential problems in advance.
After the old glass is removed, don’t rush to install new glass. This is the best time to check the sunroof frame. First, check the flatness of the frame, and measure the edge of the frame with a ruler. If a slight deformation is found, it can be corrected with the help of a rubber hammer. If the deformation is serious, the frame needs to be replaced.
Secondly, it is necessary to clean the sunroof drainage hole and dredge the pipeline with a high-pressure air gun to ensure smooth drainage; there may be water leakage in the car in the future.
At the same time, it is necessary to check the running status of the sunroof motor and the slide rail, and turn on the sunroof switch to test whether the motor is running normally and whether the slide rail is smooth.
If the slide rail is found to be stuck, apply special sunroof lubricant. In addition, the aging degree of the sealing rubber strip should be checked. If the rubber strip cracks and hardens, it should be replaced together, there may be air leakage and water leakage after the new glass is installed.
After the old glass is taken down, a lot of aging sealant and dust will remain on the frame. Wipe the surface of the frame with a dust-free cloth first, and the gaps at the corners can be swept with a small brush.
If there is any glue that sticks very firmly, spray some glue remover and let it stand for two minutes before wiping. Never scrape it with a sharp metal tool, otherwise scratching the frame will affect the subsequent sealing.
After cleaning, check whether there is any sundries and deformation in the sunroof guide rail. If the guide rail is stuck, spray some grease in advance to clear it.
After the surface of the frame is completely dry, apply a new circle of silicone sealant evenly along the sealing groove of the frame, with a thickness of about 2 mm, without it being too thick, otherwise the glass will overflow and it will be difficult to clean.
Step 4: Install new glass and accurately locate it to ensure sealing.
When installing new glass, first of all, apply a layer of special sealant evenly on the sunroof frame, and the thickness of the adhesive layer should be uniform to avoid leakage or accumulation.
Then, two people cooperate to align the new glass with the installation position of the sunroof frame, slowly put it down, and gently press the edge of the glass with their hands to ensure that the glass is completely attached to the frame.
Then use a torque wrench to tighten the fixing screws according to the specified torque, and pay attention to the diagonal tightening of the screws to avoid cracking caused by uneven stress on the glass.
After installation, wipe off the spilled sealant with a clean rag, then close the sunroof and stick masking paper around the glass to prevent the glass from shifting when the sealant is still wet.
Next, let it stand for a period of time to allow the sealant to completely cure, and do not open and close the sunroof frequently during this period. Pay attention to the front and back of the glass when installing.
Usually, the original glass will be marked. If you are not sure about the installation direction of the old glass, the reverse installation will not only affect the appearance but also lead to a decline in sealing performance.
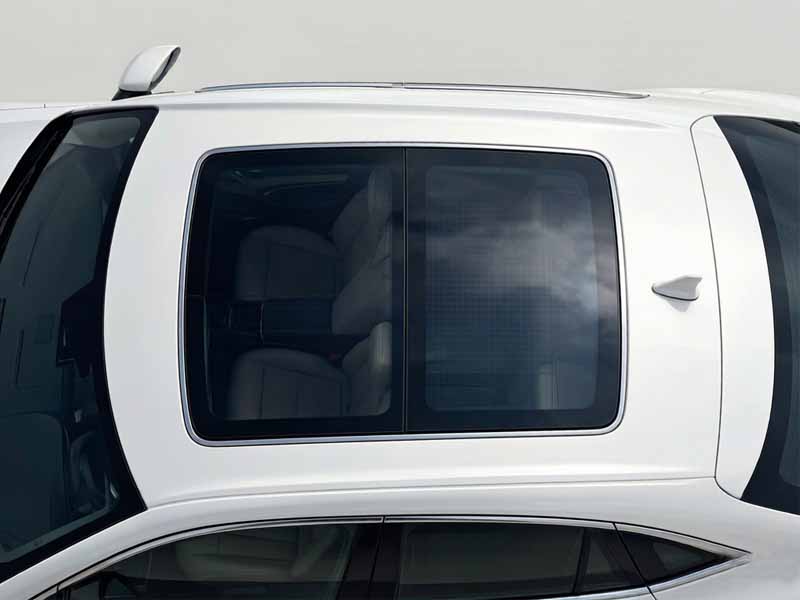
Step 5: Test and acceptance to ensure the normal function of the sunroof.
After the sealant is cured, it can be tested and accepted. First, open the sunroof and test whether the functions of opening, closing, and tilting of the sunroof are normal and whether there is an abnormal sound during operation.
Secondly, the water leakage test is carried out. You can spray water on the sunroof glass with a watering can to observe whether there is water leakage in the car, and focus on checking the position of the glass edge and the drainage hole. If water leakage is found, it is necessary to re-check whether the sealant is applied in place or whether the glass is installed smoothly.
In addition, check the tightness of the sunroof glass, press the edge of the glass by hand after closing the sunroof to feel whether there is looseness or a gap, and observe whether there is air leakage in the car when driving at high speed.
After the test is completed, clean up the tools and sundries on site, remove the adhesive tape around the sunroof, and complete the whole replacement process. The acceptance link is the final test of the replacement effect, and it must be checked item by item to ensure that the sunroof returns to normal use.
FAQ
Q: Do you have to apply sealant when installing new glass?
A: A sufficient amount of sealant must be applied evenly, which is the key to ensuring the sealing performance of the sunroof and preventing water and air leakage. This step cannot be omitted.
Q: Can I use the sunroof immediately after the new glass is installed?
A: No, you need to wait until the sealant is completely cured before you can test and use it. Generally, you can refer to the sealant product description for the specific time to wait. Opening the window in advance will destroy the sealing effect.
Q: Do you need alignment and positioning during installation?
A: Yes, positioning marks can be made on the frame in advance before installation, and then fixed after alignment, so as to prevent the glass from being misaligned and affecting the switch function and sealing performance.